I LOVE crafts! I LOVE DIY projects & I think Pinterest is the best thing since sliced bread! I discovered Pinterest before it blew up the Internet, hence my 4,000 some pins. I would have kept it a secret had the secret not gotten out! HA! Just kidding! The only thing that makes me sad about Pinterest is that I will have a fabulous idea and once I look it up on Pinterest it’s already been done! So, I’ve come to realize that anything original I create has more than likely been done! O’Well! What can you do?! I’ll think of something some day…and then Ellen will call! lol!
Anyway, to the point of today’s post…old stuff! I LOVE old stuff! I should have realized nine years ago how into it I was when we decorated our first born’s nursery with vintage items. I HAD to have these expensive hot air balloon decorations for his room, which I still have, and my kids will give to their kids one day! (Off track again!)
My husband came to me a couple weeks ago and said, “Come look what I found! You’re going to be so excited!” Long behold, he found four old windows in the shed of our new house!!! I knew they’d be perfect for the old window projects I’d been pinning for years! lol!!!
I needed some stencils and Art Deco markers (which aren’t exactly cheap, by the way). So, I took myself to Michael’s and bought the items needed.
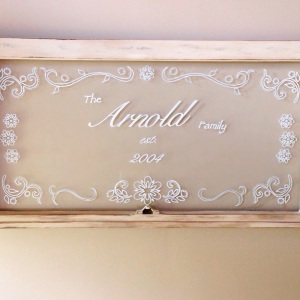
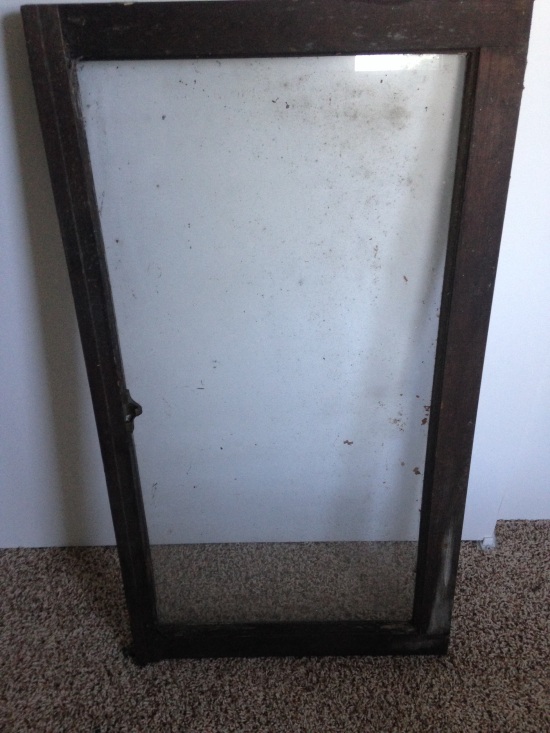
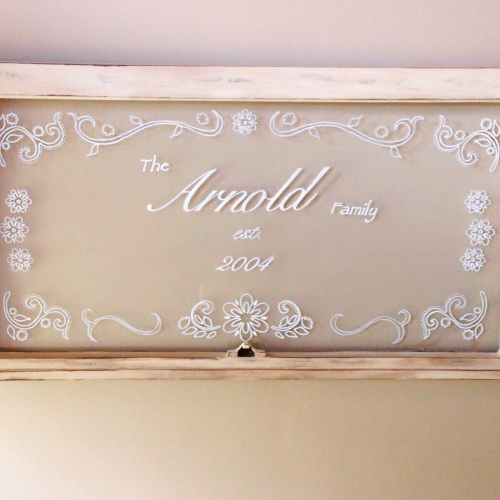
And check this out people….my husband and I turned this ugly, dirty, old window

It’s so pretty, right?! We hung it in our entry way and it looks fantastic, if I do say so myself!
What I did to get the look:
• Cleaned the window really well and windexed the heck outta the glass
• Used painters tape around the window edges, so as not to get on the glass
• I used Martha Stewart chalk paint (it isn’t my favorite chalk paint but we’ll get into that another time) and painted the frame
• After about 2 coats and completely dry I sanded around the edges and wherever else I wanted it to look distressed.
• Next, I got an old rag & some stain AND wax
• I dipped my rag into the stain and then the wax and wiped it all along my windows edge. I like this process because it allows you to control the coverage much more!
• I had to clean my window again from all the sanding and such
• Removed painters tape
• I got onto word and picked a font I liked (not as easy as you might think) and figured out just the right size (you just gotta see what you like and what works!)
• You’ll probably need to do some cutting and taping to get your words how you want them onto one piece of paper.
• Taped my paper onto the back of my window so that my words were facing the way I wanted them on the glass
• Took my Art Deco marker and just traced the words onto the front of the window! (honestly, my husband did this part because he’s just a really good artist and has the steady hand and patience for it. I gave moral support though!)
• We used a stencil for the four corners-did the same thing as the lettering. We taped the stencil with painters tape and traced onto the front of the glass.
• We also traced the flowers and my artist husband did some free hand work for the rest.
• Allow to dry (doesn’t take long at all)
• We had some hardware around to screw into the back of the window so that we could hang on the wall.
I’m SO happy with the way it turned out!!! I’m getting ready to make one for my laundry room.
HAPPY MONDAY!!


